As promised, here’s the recipe I’m generally following to make sourdough loaves. It assumes that you have a dutch oven, but if you don’t, you can use a large cast iron cooking pot with a tight fitting lid.
The story begins with a sourdough starter. If you don’t already have your own, you can find my recipe here.
Ingredients:
- 80g sourdough starter
- 580g strong white organic flour, plus extra for dusting
- 380g water
- 15g salt
- Rice flour for dusting
- Semolina for dusting
Equipment that will help:
- Digital scales
- Measuring jug
- Dough scraper – good for shaping and moving your dough
- Large bowl
- Shower cap/cling film/cloth
- Banneton – wicker basket for proving
- Greaseproof paper
- Lame, razor blade or bread knife
- Water mister/sprayer
- Dutch oven or cast iron pot
- Cooling rack
Method:
Sourdough is all about time. You can’t rush flavour.
- The night before you want to bake, combine 80g of your sourdough starter, 80g strong organic white flour and 80g water in a bowl or Tupperware container, mix thoroughly, cover and leave at room temperature. This will be your sponge.
- The following morning, add 300g water to your sponge and very roughly mix in 500g strong organic white flour. Cover with a shower cap and leave for an hour to allow the flour to absorb the water. This stage is called the autolyse.
- Mix in 15g salt and knead the dough on a clean surface for about 10 minutes. It will hold its shape and become less sticky as the gluten develops.
- Shape your dough into a ball, lightly dust with flour, and place it in a bowl. Cover and leave it to rest for 1 hour.
- Remove the dough from the bowl, knock it back and reshape it into a ball by working the outer edges into the centre. Cover and leave it to rest at room temperature for a further hour.
- Knock the dough back and reshape a further two times, until it has spent a total of 4 hours fermenting.
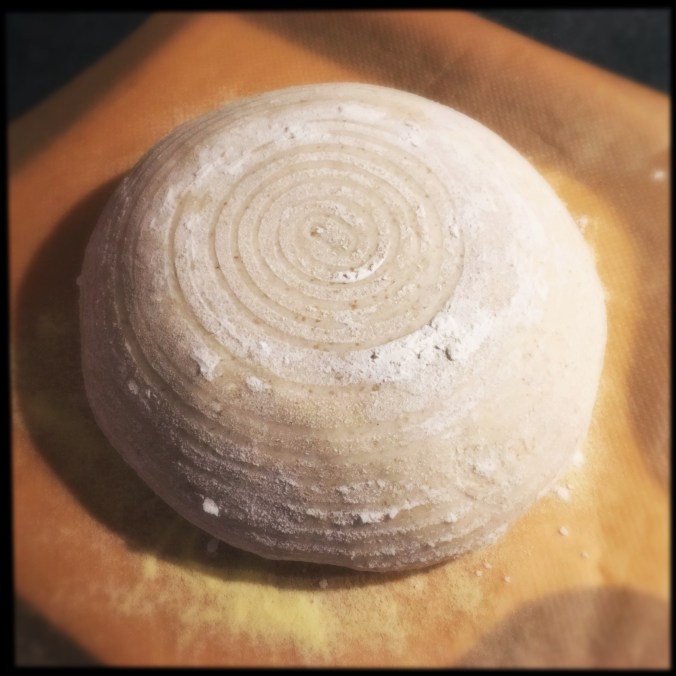
- Dust your banneton or bowl liberally with rice flour, shape your dough for the last time, place it inside and cover with a shower cap or cloth. Leave your dough to prove for 4 hours.
- Preheat your oven to full temperature with your dutch oven or cast iron pot inside. I wait around 30 minutes for everything to heat up sufficiently.
- Carefully turn your dough out onto a piece of greaseproof paper dusted with semolina.
- Slash the top of your dough with a lame, razor blade or sharp bread knife.
- Very carefully place your dough inside your dutch oven and spritz with water.
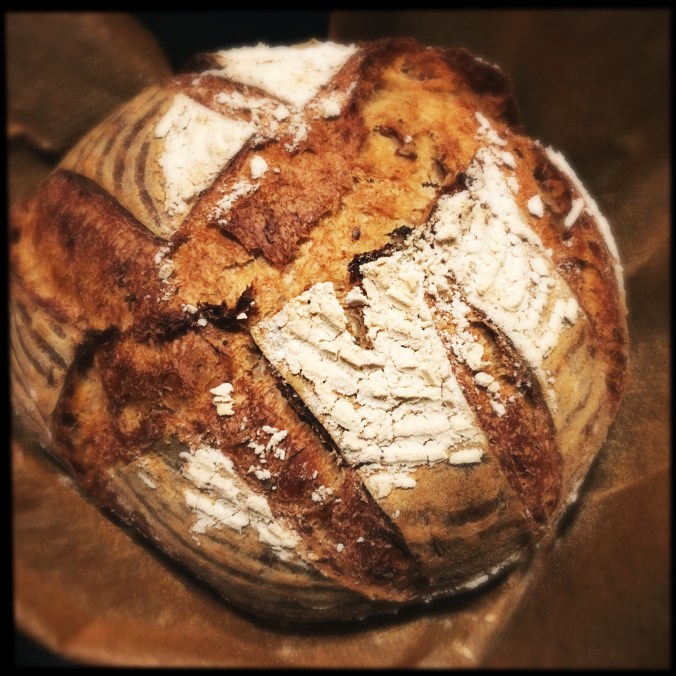
- Bake for 10 minutes before turning the temperature down to 230 degrees centigrade and baking for a further 40 minutes.
- Carefully remove your bread and leave it to rest on a cooling rack.
- Admire and devour.
I find that a dutch oven creates a great environment for the bread to bake in the absence of a professional oven. The reality is that there are many, many variables in play when it comes to baking bread. Literally everything makes a difference, from the water, air and flour temperatures, to brand of flour and type of oven. For this reason, regular practice, keen observation and confident intuition are what truly makes great bread. The more you bake, the more you’ll learn and develop that all important feel for what’s going on with your dough.
Godspeed folks.


Pingback: Sourdough 2.0 | Food Fit For Felix